macOS Productivity - Part 2
This is the second part of our macOS Productivity series. Key points include managing workspaces and keeping them clean.
Introduction
In the first part of our macOS Productivity series, we explored how we organize files effectively. In this second part, we will focus on managing workspaces properly and maintaining a clean and organized environment to boost productivity. This is another low-hanging fruit that can have a significant impact on your workflow, with a shallow learning curve and no need for third-party tools.
Managing Workspaces
The macOS Desktop when you log in is a workspace. However, it is not the only workspace you can have. You can create multiple workspaces using the built-in Mission Control feature. This allows you to have different desktops for different tasks or projects, helping you stay focused and organized. The way I organize my workspaces is as follows:
-
Workspace 1: Communication (Email, Slack, Teams). In the modern workplace, communication has the highest priority. On a single monitor setup, I dedicate the first workspace to communication tools. This way, I can quickly access my email and messaging apps. On multiple monitor setups, I dedicate one monitor entirely to communication tools, allowing me to keep an eye on messages without disrupting my main work area.
-
Workspace 2: Terminal. I use the terminal a lot in my daily workflow. Coding, scripting, searching, and automating tasks are all part of my routine. All of this is done in the terminal, keeping my hands on the keyboard and my focus intact. I often use multiple window tiles on this workspace, using a browser to test my code or accessing GitHub repos side by side with my terminal.
-
Workspace 3: Browser. The web browser is another essential tool in my workflow. Whether it's for research, accessing cloud tenants, or reading articles, I dedicate a workspace to my browser. This helps me stay focused on web-related tasks without distractions from other applications.
-
Workspace 4: Remote Desktops / Virtual Machines. For tasks that require remote access or virtual environments, I use a dedicated workspace.
-
Workspace 5: Obsidian. I use Obsidian for note-taking and knowledge management. Having a dedicated workspace for Obsidian allows me to quickly jot down ideas, organize notes, and access my knowledge base without cluttering other workspaces.
Predefining Workspaces
To allow for a more structured workflow, I predefine my workspaces in Mission
Control. This allows for defining keyboard shortcuts to switch between
workspaces quickly. I use Control + 1, Control + 2, etc., to switch between
workspaces.
-
Open Mission Control (F3 key or swipe up with three fingers on the trackpad). Click on the "+" button in the top-right corner to add new desktops.

-
Open System Preferences > Keyboard > Shortcuts > Mission Control. Add keyboard shortcuts for each workspace (Desktop 1, Desktop 2, etc.) by checking the boxes and assigning your preferred key combinations.

🦆 Ducking the Dock
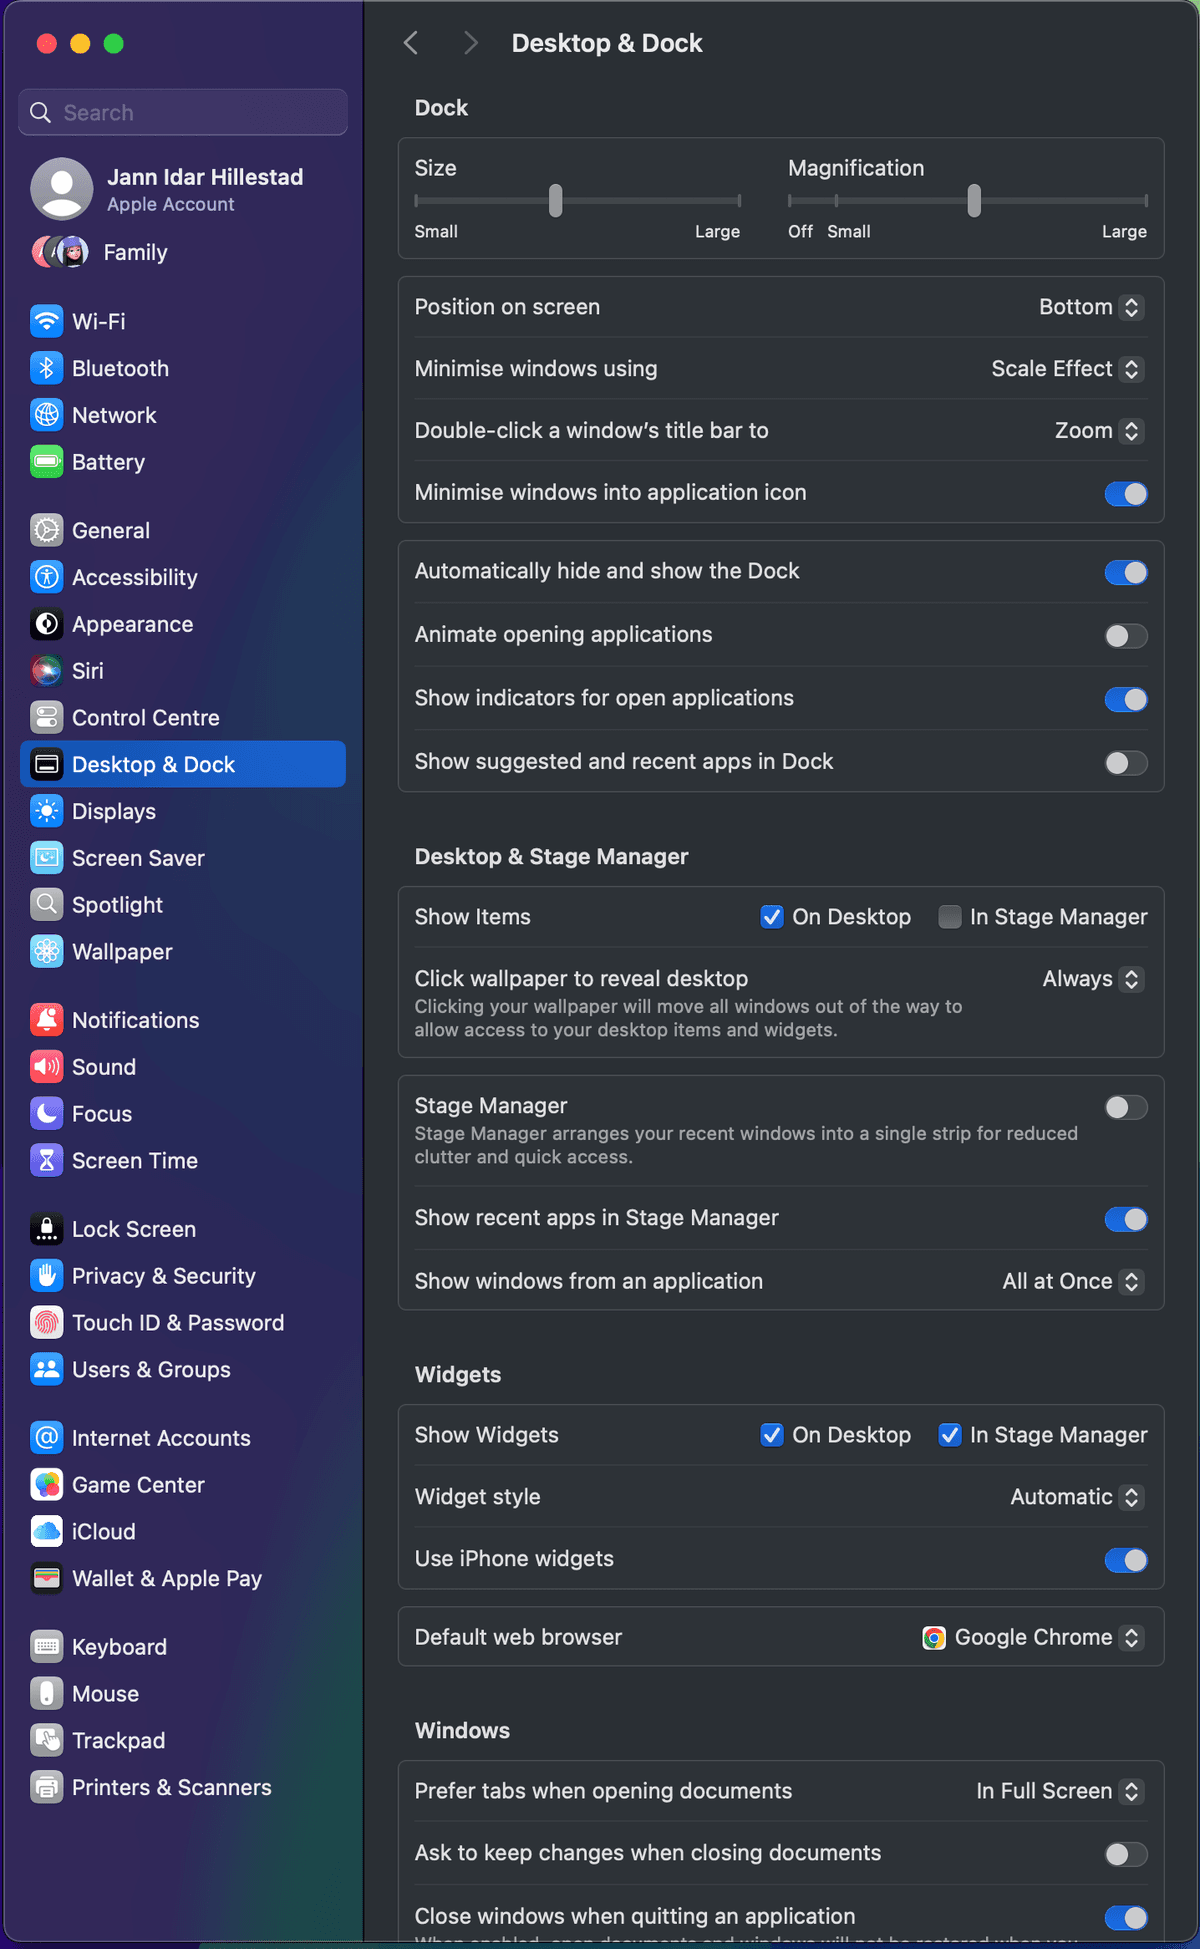
The Dock is a useful feature in macOS, but it can also be a distraction. To keep your workspace clean, you can set the Dock to auto-hide. This way, it will only appear when you need it, giving you more screen real estate for your work.
I use the following settings for the Dock:
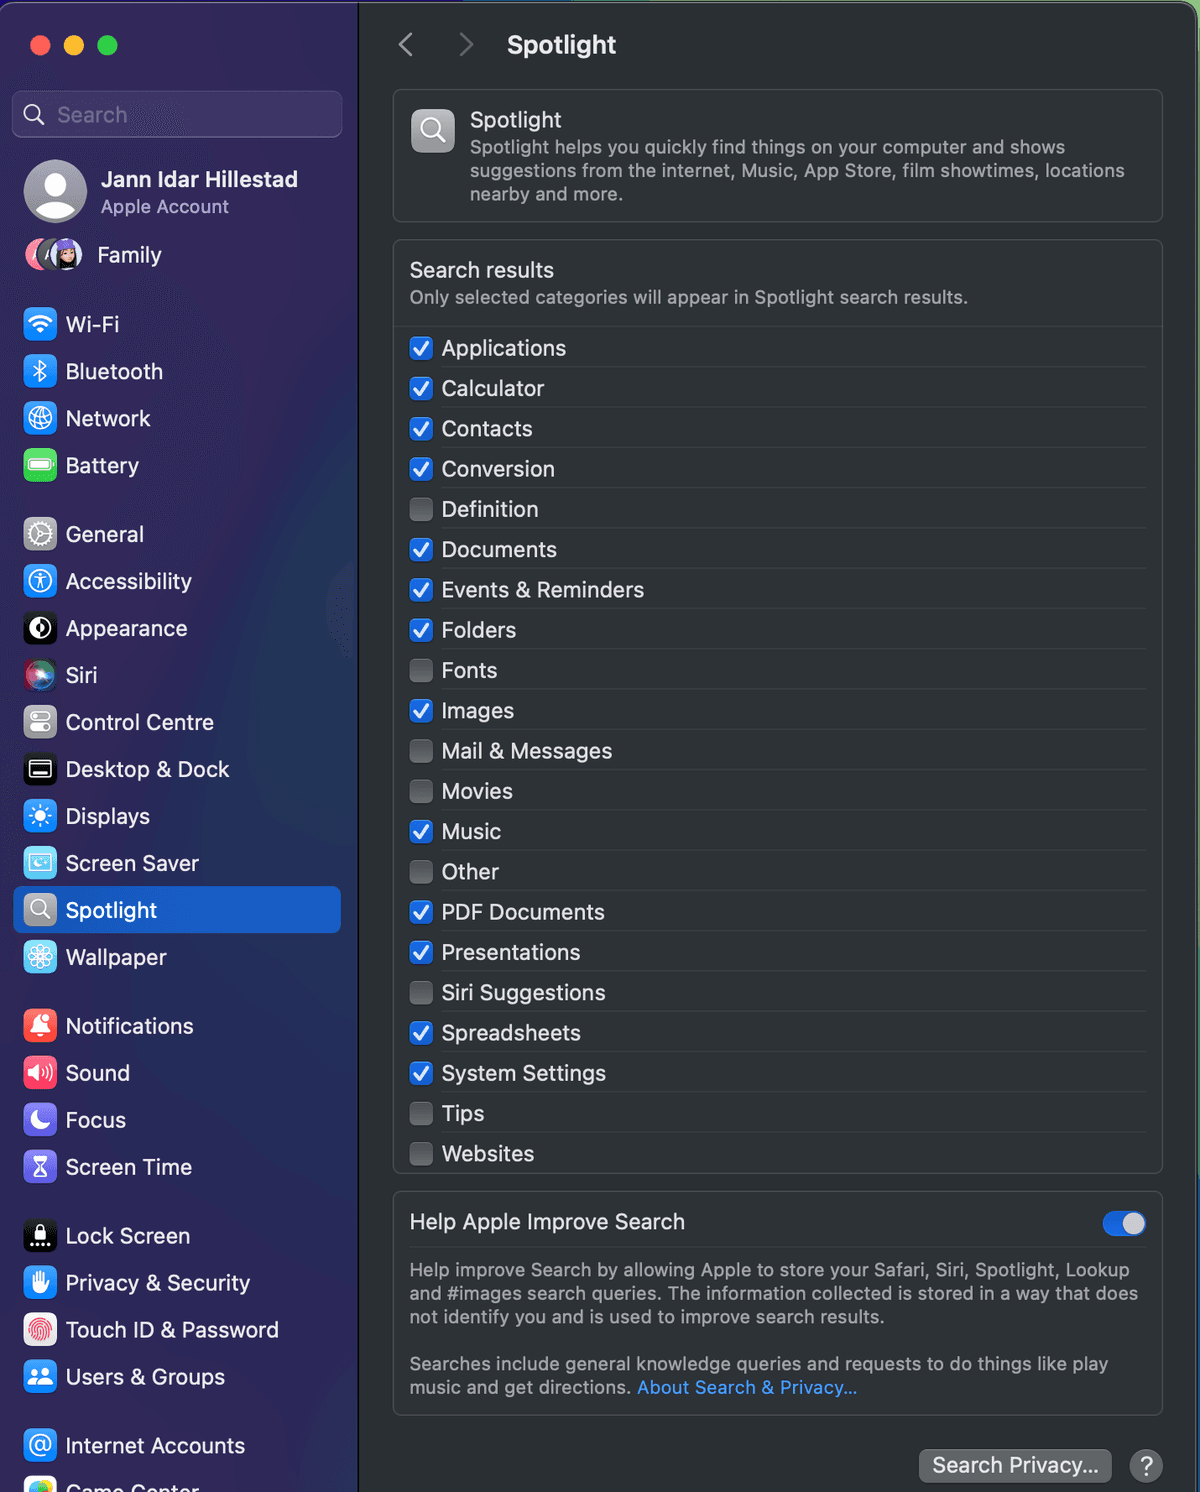
💡 Bonus Tip 1: Remove unnecessary indexes from Spotlight
To make Spotlight even snappier, you can remove unnecessary indexes. I use these settings to exclude certain categories from Spotlight search results:
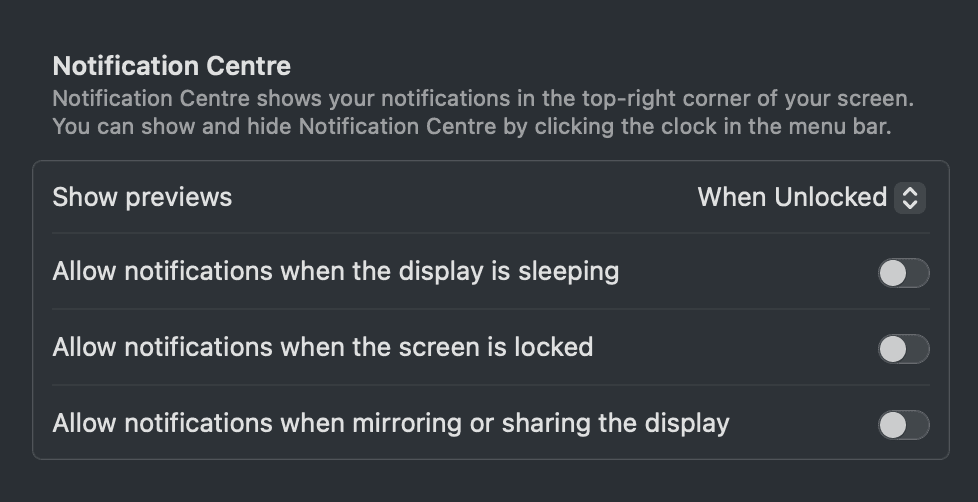
💡 Bonus Tip 2: Limit Notifications
First of all, you do not want everyone around you to see your notifications when you are not at your desk. Make sure to disable these settings to keep your privacy:
I also recommend turning off notifications from Messages (SMS from your iPhone) and Messenger (Meta/Facebook) at work for privacy concerns.
Conclusion
By managing your workspaces effectively and keeping your environment clean, you can significantly boost your productivity on macOS. These simple tips can help you stay organized, focused, and efficient in your daily tasks.
What's Next?
In the next part, we will explore Apple Reminders and Widgets to take your productivity up one more level. Stay tuned!
Did you find this helpful, please support me on Ko-fi.com - jihillestad